Wednesday, December 31, 2014

4th Grade Aurora Borealis (Northern Lights)

This year I saw a new way of creating Northern Lights that I couldn't wait to try with my kiddos.  Here is the link to the blog where I found this amazing project Color and Collage Blog.  It has great instructions on it.

Everyone really loved the finished product, especially my young artists who made them.  


This is a project that works great with incorporating geography, science, and stories from tribes.

We discussed places that you can see the Northern Lights from and used GoogleEarth to check out where they are located (here are some main ones):
Canada
Alaska
Russia
Finland
Iceland 


Step One-Paint watercolor mountain paper
The first day we painted a sheet of watercolor paper with mostly blues, purple, pink, and black.  
Then was added some salt on top of the wet paint and then pushed plastic wrap on top of everything. I reminded the kids that they needed to work quickly so they paint would still be wet when they added salt and plastic wrap.


 Step Two: Cut and Glue down mountains
Draw and cut a stencil for the mountain paper.  The other blog has more details and a great example of this step.  I showed the kids how to cut and glue both of these paper down to look like a mountain range.  A great time to talk about foreground and background. 


Step Three: Create Chalk Lights

Now it's time to use your stencil to create the lights.  I made the kids put an "X" on the side of the stencil that matches their mountain range.  Then I showed them how to color the top of the stencil in chalk, drag it into the sky, and then smudge the chalk upward.  Some of them got very creative and used their stencil to create multiple lights.


 Step Four: Add Stars
The last thing we did was add starts with silver paint and toothpicks.  Everyone loves when the metallic paint comes out!


Monday, November 17, 2014

Wayne Thiebaud Cupcakes

To start off the school year I wanted to do something fun with my first graders.  I saw a post on Artolazzi and loved it! It was based on American artist Wayne Thiebaud and his delicious deserts, yum!

I started by showing my students some of his paintings, which made all of us very hungry.  

I also showed them a slideshow Wayne Thiebaud video.  We talked about "Pattern" and ways they could show different patterns in their large cupcakes.  

Steps:
First we painted paper for our icing
(and had to add sprinkles because everyone loves sprinkles!)  

Next we cut the cupcake bottoms and painted patterns on them.  

After everything was dry we got to tear our icing paper.  They really got a kick out of tearing up their art.

The hardest (and last) step was gluing the paper back together in a shape resembling icing.  It was definitely a little challenging, especially since I made them use every bit of their torn scraps.  And who could forget a cherry on the top!  


Check out our delicious pattern treats below:


Monday, July 14, 2014

Clay Birds

I can't remember where I came across this clay bird idea.  But I couldn't resist the opportunity to try it in my 1st grade classes.  
We started out by talking about what shapes to use for each part of the bird.
Body=Half circle
Head=Circle
Beak=Triangle
Wing=Half Circle
Students then drew 3 practice drawings using the shapes we talked about.
We discussed how they needed plan holes for where the feet, top wire, and tail would go.
After our designs were finished I did a clay demo.  I reminded them to scratch and attach their pieces, smooth the edges, and not to punch the holes too close to the edge.
The next week we made our clay birds! Which they had a blast creating!  We used stencils to help them cut out the body and head shape. I was really proud that they all remembered to scratch and attach.
Once our birds flew out of the kiln, we were ready to paint them. I had a variety of tempera colors, and even some new neon colors we tried out. It took an entire class period to paint these.  Some even needed extra time the next class to finish up.  They are always so amazed by how fast the paint dries on our clay.
The next class we started decorating our colorful birds.  We used half a pipe cleaner for each bird leg. I showed them how to twist it so they'd have bird toes.  They had a variety of objects on their table to create the tail.  Pipe cleaners, yarn, feathers, ribbon, beads, and paper.  Some of my little ones even made hats for their birds.
I had to help put the wire on the top of the birds.  I had bronze, silver, or gold to choose from. They were each able to add beads to their wire before I tied them on there.  
I was really pleased with our final product! Each bird seems to have their own personality.  The bottom two remind me of 1920's flappers. Very cute!


Sunday, June 15, 2014

Cardboard Masks

What to do at the end of the year? This is always a tough one.  The kids are burnt out and keeping them interested can be a bit of a challenge.  It's also a good time to use the donated materials that have been taking up space in my room.  So this year I decided to make wild masks with my 3rd graders.  I really liked the end product, and so did the kids.  


We only used recycled materials to construct our masks.  
Materials:
Cardboard
Rope
Egg Cartons
Bubble wrap
Fabric
Paint
Liquid Glue
Oil Pastels

The kids came up with 3 different design sketches.  We talked about leaving room for the eye holes and a place for their nose.  They picked their favorite design and drew it onto their cardboard.  We talked about making these really large and keeping it simple.

The hardest part was cutting out the main design.  This is where my xacto knife and I came to the rescue. I definitely gained some arm muscles cutting some of these out. 
They had a great time adding all the materials to their masks. It was interesting to see the students get really interested in textures, height, layers, space, color, etc.  


Overall, I think it was a fun way to end the year.  I definitely enjoyed seeing their proud grins underneath their wild masks. 

Saturday, May 31, 2014

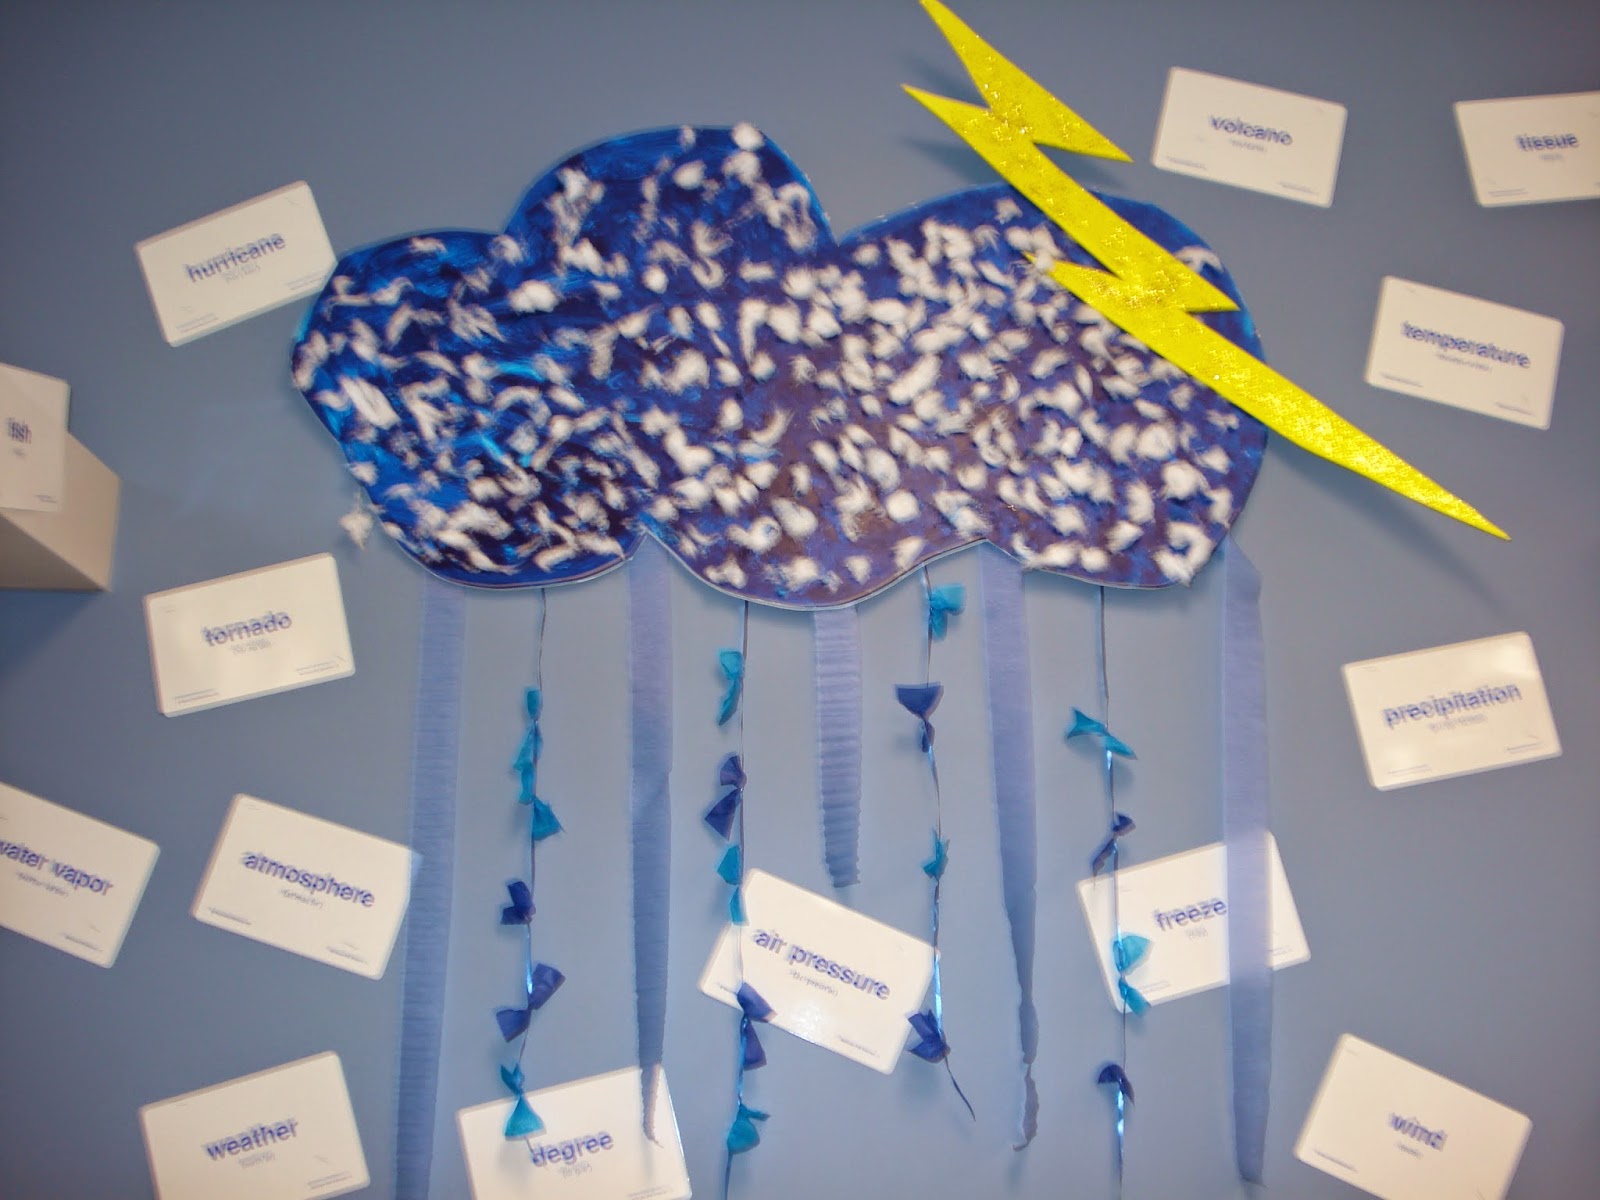
Science Lab Decorations

When you become an Art teacher, you also become the school decorator.  We have an adorable science lab that needed a little color.  So the my Art Club kids and I went to work.  

We used inspiration from their Science curriculum:
Weather
Life Cycles
Plants
Animals
Dinosaurs
Electricity


I think it really gave our Science Lab some character.  We wanted to make it more inviting for our students.  We just got cute little science stools to go with the room.  I'm hoping to have a future Art Club project where we paint the center of the stools.  Hopefully, you'll see that in a later post.

Art Club Library Windows

My 5th grade Art Club students are always kept busy with projects that give back to the school.  One of my favorite projects was creating art for the Library windows.  

Our Library has six windows all around it, which is why I called it the fish bowl.  So we decided to create something that would add color to our hallways and help spectators from distracting our young readers in the fish bowl.

The kids made a list of their favorite books.  Then we narrowed it down to twelve. We used foam board and acrylic paint.  We painted the fronts and backs of the six boards.  Since these boards were so large I definitely had to help draw these, the kids had a hard time filling up the space on their own.  The kids split into groups and painted their boards with whatever colors they wanted.  Most of them stuck with the same colors as their books.  I was very impressed with the care they took in making these. 


File:Where The Wild Things Are (book) cover.jpg
_____________________________________________________________________________


_____________________________________________________________________________


_____________________________________________________________________________


Rainbowfishbook_cover.jpg
_____________________________________________________________________________


llama-llama-red-pajama
___________________________________________________________________________


_____________________________________________________________________________


_____________________________________________________________________________


 _____________________________________________________________________________


 _____________________________________________________________________________

_____________________________________________________________________________


 _____________________________________________________________________________


_____________________________________________________________________________

You can now see these classic books in the hall and inside the Library!  The foam board sits nicely inside each window.  You can take them out to clean the glass or move them around if you get bored with the same placement.  These have been a big hit at school!  The kids are always really proud to see their artwork on display and being admired.